To install eufycam 3 pro vinyl fence post hardware without warping the post, you must spread the camera's weight across a rigid internal backer and avoid overtightening screws into hollow vinyl. The short version: insert a treated wood or aluminum sleeve inside the post cavity, pre-drill with a step bit at low RPM, use stainless #8 pan-head screws with rubber gasket washers, and torque by hand only. Never drive lag screws straight into unsupported vinyl skin, and never mount during cold weather when the PVC is brittle. Below is the full method, the exact hardware list, and the no-drill alternatives that work on rental fences in 2026.
Why vinyl fence posts warp when you mount cameras directly
Top Picks
Vinyl fence posts are hollow extrusions, typically 4x4 or 5x5 inches, with wall thicknesses between 0.135 and 0.180 inches. They are engineered to flex under wind load, not to carry a point load from a fastener. When you drive a screw into the front face of a hollow post, three things happen at once: the screw threads chew the soft PVC instead of biting, the post wall deflects inward under fastener tension, and any subsequent torque pulls the vinyl skin into a visible cup or dimple. On hot days above 85F, the vinyl softens further and a half-pound camera like the EufyCam 3 Pro can sag the wall within weeks. The fix is not a bigger screw - it is a rigid internal backer that converts the point load into a distributed clamp.
When shopping for install eufycam 3 pro vinyl fence post, it pays to compare specs, capacity, and real-world runtime before committing.

If you want a deeper background on weatherproofing battery cameras outdoors, see our battery camera buying guide for vinyl fence yards before you start drilling.
Tools and hardware you need before you install EufyCam 3 Pro vinyl fence post mounts
Gather everything before you climb the ladder. Stopping mid-install with a half-drilled hole is how warping starts, because the post sits stressed and unsupported in the sun.
- EufyCam 3 Pro and its included wall plate
- One pressure-treated 2x4 cut to 10 inches, OR a 6-inch length of 3x3x0.125 aluminum angle
- Four #8 x 1-1/4 inch stainless pan-head screws
- Four EPDM rubber bonded sealing washers, 8mm ID
- Step drill bit (1/8 to 1/2 inch)
- Cordless drill with clutch set to 4 of 20
- Silicone caulk, clear, exterior grade
- Painter's tape and a level
- Stud finder with AC detection (optional, only if your fence post hides a metal stiffener)
Step-by-step: the backer block method
1. Choose the post and mark the location
Pick a corner post or a line post that is reinforced with a steel or aluminum stiffener if your fence has one. Stiffened posts will not warp at all when backed properly. Mark the camera centerline at 7 to 8 feet above grade, which puts the EufyCam 3 Pro lens above the typical 6-foot privacy fence top and keeps it out of reach. Apply painter's tape over the marks so the drill bit does not skate on the glossy vinyl.
2. Cut and insert the backer
From the top of the post, drop your 10-inch pressure-treated 2x4 down the cavity until it sits behind your mark. If the post cap is glued, drill from the side: cut a 3-inch access slot on the back face of the post (the side facing your yard, not the street), insert the backer, then seal the slot with a vinyl repair patch later. The backer must contact the back of the front wall - if it rattles, shim it with a cedar shake until snug.

3. Pre-drill with a step bit
Set your drill to its lowest speed. Step-drill four pilot holes through the vinyl and into the wood backer, finishing at 5/32 inch. A step bit prevents the spiral cracking you get from a twist bit on cold PVC. Vacuum the chips - vinyl swarf attracts dirt and stains the post permanently.

4. Mount the wall plate
Slip a rubber sealing washer onto each screw. Position the EufyCam 3 Pro wall plate over the holes, drive each screw until the rubber washer just compresses, then stop. The clutch should slip - if it does not, you are overtightening. Run a thin bead of clear silicone around the top and sides of the plate (never the bottom; you want drainage) and let it skin for 20 minutes.
5. Snap on the camera and aim
Twist the EufyCam 3 Pro onto its plate, open the Eufy Security app, and confirm the field of view before you commit to final aim. The magnetic ball joint gives you about 360 degrees of horizontal rotation, which is plenty to clear the post edge.
No-drill alternatives that protect rental fences
If you rent, or your HOA prohibits fasteners through vinyl, you have three legitimate options that will not warp the post.

Option A: post-top saddle clamp
Remove the post cap, slide a 4x4 or 5x5 saddle clamp over the top of the post, and re-seat the cap. The camera mounts to the saddle's outboard arm. Zero penetrations, zero warping, full removal in under five minutes when you move out.
Option B: 3M VHB plus aluminum backer plate
Bond a 4x4 inch 1/8 inch aluminum plate to the post face with 3M VHB 5952 tape. Screw the camera's wall plate into the aluminum, not the vinyl. The tape distributes load across 16 square inches - far below the deflection threshold of standard PVC fence panels.
Option C: switch to a camera designed for non-rigid mounting
If you do not need the EufyCam 3 Pro's 4K specifically, a lighter battery camera with adhesive or strap mounting will save you the whole backer exercise. The picks below are the ones we keep recommending in 2026 for vinyl, lattice, and pergola installs.
Comparison: lightweight cameras that mount on vinyl without warping
| Camera | Weight | Battery | Best mount for vinyl | Resolution |
|---|---|---|---|---|
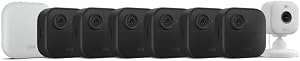
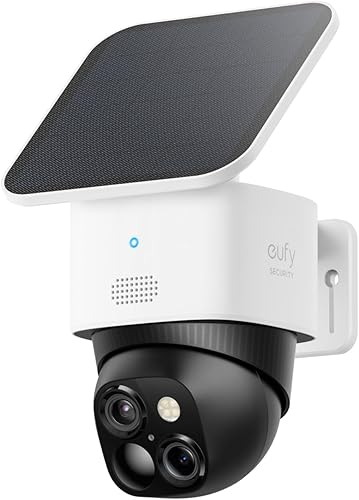
| EufyCam 3 Pro | 14.1 oz | ~365 days | Backer block required | 4K |
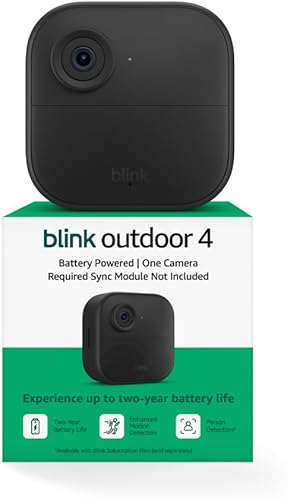
| Blink Outdoor 4 | 3.8 oz | 2 years | VHB or strap | 1080p |
| Blink Outdoor 4 XR | 4.1 oz | 2 years | VHB or strap | 1080p, longer range |
| Blink Outdoor 2K+ | 4.2 oz | 2 years | VHB or strap | 2K |
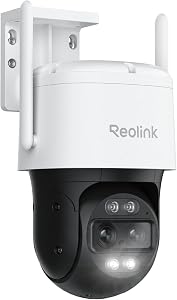
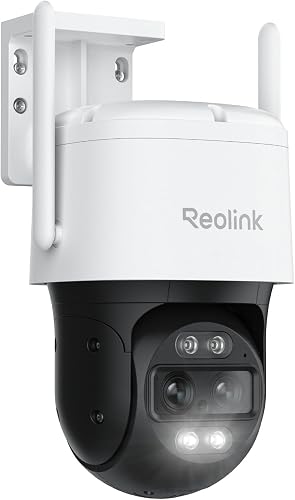
| aosu T2 Pro | 10.6 oz | ~180 days | Backer block recommended | 3K dual lens |
Product picks for vinyl-fence security in 2026
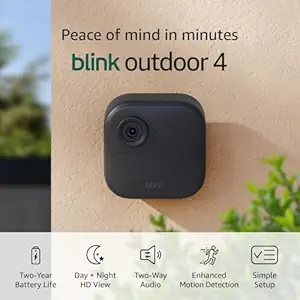
Blink Outdoor 4 - lightest practical pick for a hollow post
At under four ounces, the Blink Outdoor 4 is the camera I reach for when a client says "do not drill into my fence." Two #8 screws or a single 2x2 inch VHB pad will hold it indefinitely without dimpling the vinyl, and the two-year battery means you climb the ladder roughly never. Pair it with a Sync Module 2 inside the garage for local USB storage. See current pricing: Blink Outdoor 4 on Amazon.
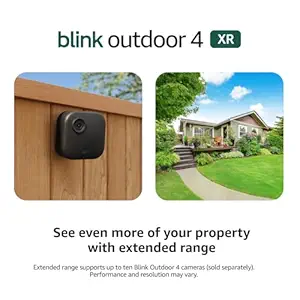
Blink Outdoor 4 XR - when the post is far from the house
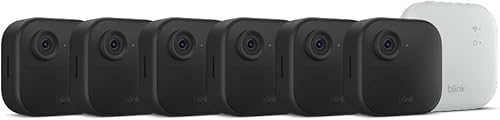
The XR variant doubles the wireless range of the standard Blink, which matters on a deep lot where the back-corner post sits 80 to 120 feet from your router. The four-camera kit is the most cost-effective way to cover a perimeter fence: Blink Outdoor 4 XR four-cam kit on Amazon.
Blink Outdoor 2K+ - if you want sharper plates and faces
2K is the sweet spot on a fence-mounted camera because the angle of view typically covers a driveway or gate where you actually want to read a license plate. The 2K+ keeps Blink's adhesive-friendly weight class. Blink Outdoor 2K+ on Amazon.
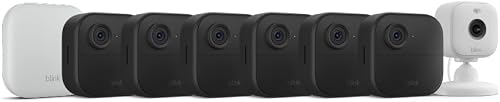
Blink Outdoor 4 system bundle - cheapest perimeter starter
If you are kitting out a new vinyl fence install, the bundled system gives you the Sync Module 2 already included, which avoids a second checkout. Blink Outdoor 4 system on Amazon.
aosu T2 Pro - dual-lens alternative when EufyCam is out of stock
The aosu T2 Pro is the closest spec-for-spec stand-in for the EufyCam 3 Pro at a similar weight and price. Its 3K dual-camera setup gives you a wide and zoom feed simultaneously, which is genuinely useful on a long fence run. You will still want the backer block treatment described above because of its weight. aosu T2 Pro on Amazon.
Common warping mistakes to avoid
I have seen these four failures repeatedly during install consultations:
- Mounting in direct afternoon sun. Dark-color vinyl posts can hit 140F. The PVC softens and any fastener tension prints permanent deformations. Install before 10am or after 6pm.
- Using deck screws. Coarse deck screws strip out hollow PVC immediately. Stick with pan-head machine-thread style or self-tapping sheet metal screws into an aluminum backer.
- Skipping the rubber washer. Without an EPDM washer, water tracks the screw threads into the post cavity, freezes in winter, and splits the vinyl from the inside out by spring.
- Mounting at the top rail. The top of a vinyl post is the weakest unsupported span. Mount within 18 inches of grade, top-rail, or a horizontal cross-rail where the post is internally braced.
For a broader look at fastener choices outdoors, our outdoor camera hardware guide covers stainless grades, anti-seize compounds, and which adhesives survive UV.
Frequently Asked Questions
Can I install EufyCam 3 Pro on a vinyl fence post without drilling?
Yes. Use a post-top saddle clamp that slides over the post under the cap, or bond a 4x4 inch aluminum backer plate to the post with 3M VHB 5952 tape and mount the camera to the plate. Both methods leave the vinyl skin un-pierced and remove cleanly if you move.
Will an EufyCam 3 Pro mounted on vinyl get stolen easily?
The magnetic base on the EufyCam 3 Pro can be twisted off in seconds, which is the bigger theft risk - not the mount itself. Use the included security screw on the wall plate, mount above 7 feet, and enable on-device alerts so a tamper triggers a recording before the camera is removed.
Does mounting a camera on a vinyl fence void the fence warranty?
Most vinyl fence warranties exclude damage from third-party fasteners. A backer-block install with rubber-washered screws is rarely flagged because no warping or cracking results, but a saddle-clamp or VHB approach is the safest route if you want the warranty unambiguously intact. Always check your manufacturer's documentation before drilling.
What size screws are safe for hollow vinyl fence posts?
Stainless #8 x 1-1/4 inch pan-head screws are the sweet spot. They are long enough to bite a 3/4 inch internal wood backer but short enough that you will not blow through the back wall of a 4x4 post. Avoid anything coarser than #10 - the threads tear the PVC instead of clamping it.
Can I mount the EufyCam 3 Pro on a vinyl pergola instead of a fence post?
Yes, and pergola beams are usually easier because they are solid or filled with foam. Use the same step-drill plus rubber-washer method, and orient the camera so rain sheds off the lens hood. Check our pergola camera placement guide for sightline tips.
Will cold weather crack my vinyl fence post when I drill?
Yes - vinyl below 40F becomes brittle and a twist bit can spider-crack the front wall. Either wait for a 50F+ day, warm the install area with a heat gun on low for 30 seconds before drilling, or use a step bit which cuts cleanly without the impact load of a twist bit.
How do I hide the EufyCam 3 Pro power cable on a vinyl fence?
The EufyCam 3 Pro is battery-only in most installs, but if you add the solar panel, route the cable up through the post cavity from the bottom and out a single 3/8 inch grommeted hole near the camera. Avoid running cable along the outside of the post where UV will degrade the jacket within two seasons.
Key Takeaways
- Choosing the right install eufycam 3 pro vinyl fence post means matching capacity and output ports to your actual devices
- Always check actual watt-hours (Wh), not just watts — runtime depends on Wh, not peak output
- Also covers: eufycam 3 pro vinyl fence mount
- Also covers: vinyl fence camera install no warp
- Also covers: mount eufy on vinyl fence post
- Compare price-per-Wh across models to find the best value for your budget