To install Nest Doorbell Wired 2nd Gen fiberglass door setups, you need a 5/32-inch carbide-tipped drill bit, plastic wall anchors, painter's tape to prevent surface cracking, and a low-voltage transformer rated 16–24V AC at 10VA minimum. Fiberglass doors require a slower drill speed (under 600 RPM), a center-punch dimple, and anchors rated for hollow composite skins because the foam core will not hold standard screws. Run the doorbell wires through the existing knock-out or drill a fresh 1/4-inch pilot near the hinge side, seal with silicone, and confirm chime compatibility before powering the unit back on.
Why fiberglass doors need a different install approach
Top Picks
Fiberglass entry doors have a thin gel-coat skin over a polyurethane foam core, sandwiched against a wood or composite stile frame. Unlike wood, a careless drill bite will chip the gel coat, spiderweb the surface, or punch straight through into hollow foam where screws spin uselessly. That is the biggest reason homeowners hesitate to install Nest Doorbell Wired 2nd Gen fiberglass door mounts themselves — and why a 20-minute job can turn into a weekend repair if the wrong bit or wrong torque is used.

The good news: with the right prep, the Nest Doorbell Wired 2nd Gen sits flush, weather-sealed, and rock-solid on fiberglass. The mounting plate footprint is small (about 4.5" tall by 1.7" wide), which means you only need two anchor points landing in either the door jamb (preferred) or the adjacent fiberglass sidelite trim.

Tools and materials checklist for 2026
Before you drill anything, lay out everything on a towel next to the door. You do not want to discover a missing anchor halfway through with bare wires exposed.
- Cordless drill with adjustable clutch (set to 6 or lower)
- 5/32" carbide-tipped masonry/glass bit — not a wood spade bit
- Painter's tape (blue, low-tack)
- Center punch or awl
- #6 plastic wall anchors rated for composite
- 16–24V AC transformer, 10VA+
- Silicone sealant (clear, paintable)
- Voltage tester
- Phillips #2 screwdriver
- Wire stripper / nut
- Soft cloth for cleanup
Step-by-step: install Nest Doorbell Wired 2nd Gen on fiberglass
Step 1 — Kill the power and remove the old doorbell
Flip the breaker for the doorbell circuit. Use a contactless voltage tester on the existing button wires — never trust the breaker label alone. Unscrew the old doorbell and let the wires hang. If your existing chime is mechanical and older than ten years, plan to add the included Nest power connector to the chime terminals.
Step 2 — Mark the mounting holes with tape
Hold the Nest wedge or flush plate against the door and mark the two screw locations with a fine pencil. Now place a 1" square of painter's tape over each mark. This is the critical fiberglass step: the tape stops the gel-coat skin from chipping when the bit first bites. Re-mark the hole centers on top of the tape.
Step 3 — Center-punch, then drill slow
Tap a center punch lightly to make a dimple at each mark. This stops the bit from skating. Set your drill to its lowest clutch setting, run the 5/32" carbide bit at half speed, and apply only light pressure. You will feel three zones: the hard gel coat, the soft foam core, and finally the wood stile (if you hit it). Stop drilling the instant the bit reaches 1-1/4" depth.
Step 4 — Insert anchors and route wire
Tap #6 plastic composite anchors flush. If the hole landed in solid wood stile, you can skip the anchor and drive directly. Pull the doorbell wires through the wedge cutout. If you need to drill a fresh wire pass-through, pick the hinge-side edge of the door frame, not the door slab itself — drilling the slab itself voids most fiberglass door warranties.

Step 5 — Connect, mount, and seal
Strip 3/8" of insulation from each wire. Connect to the two screw terminals on the Nest mount (polarity does not matter for AC). Snap the Nest Doorbell Wired 2nd Gen onto the plate until you hear a click. Apply a thin bead of silicone around the top and sides of the mount — leave the bottom open so condensation can drain.
Step 6 — Re-power and pair in the Google Home app
Flip the breaker back on. The Nest LED should pulse blue. Open Google Home, tap the + icon, and follow the QR-code pairing prompt. If your old chime buzzes after install, you skipped the in-chime power connector — go back and install it.
Companion outdoor cameras worth pairing in 2026
Most homeowners who install Nest Doorbell Wired 2nd Gen fiberglass door setups also want a wider-coverage camera watching the driveway, side gate, or backyard. The Nest doorbell only covers the porch zone, so a battery-powered outdoor camera fills the blind spots without requiring more drilling into your fiberglass slab. Below are the four picks I recommend in 2026, all of which work alongside (not against) a Nest-centric smart home thanks to Alexa routine support.
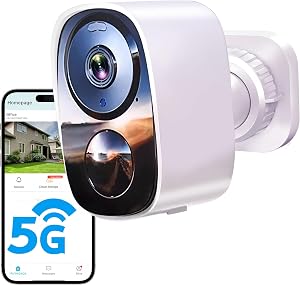
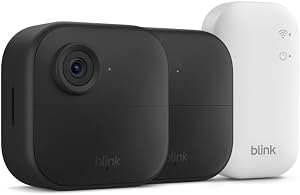
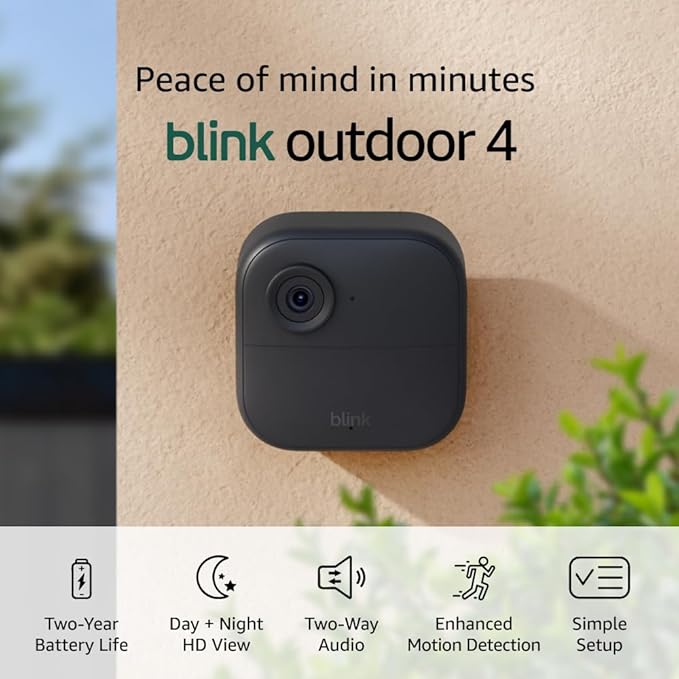
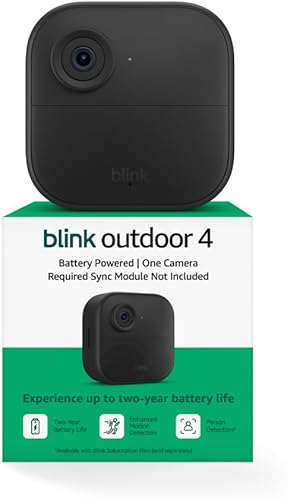
Top pick: Blink Outdoor 4 (2-Year Battery)
The Blink Outdoor 4 is the easiest sidekick to a freshly installed Nest doorbell because it mounts with the included screw kit on any siding, soffit, or fence post — no wiring, no transformer, no fiberglass-style anxiety. Two AA lithium cells run roughly 24 months, motion alerts hit your phone in under three seconds, and the 1080p sensor handles night-vision out to about 25 feet. Pair it with an Echo Show and you can ask Alexa to display the side-yard feed while reviewing the porch on the Nest app.
Check the Blink Outdoor 4 on Amazon
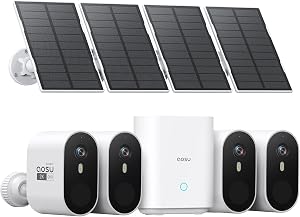
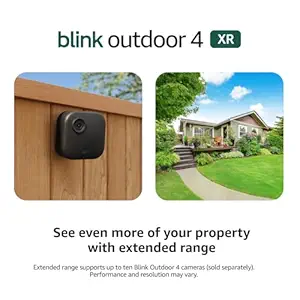
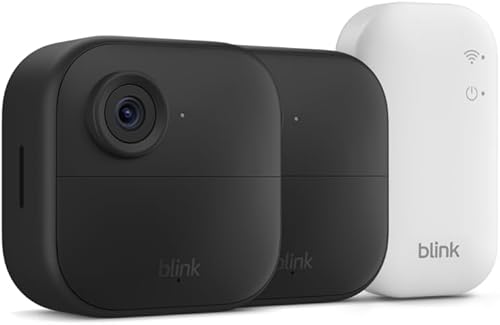
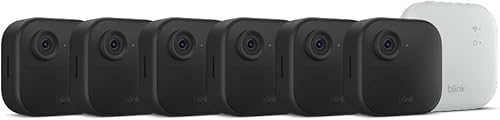
Best for big properties: Blink Outdoor 4 XR (4-Camera)
If your fiberglass front door is part of a larger home — corner lot, detached garage, long driveway — the four-camera XR bundle has the range and battery margin to cover all four exposures with one Sync Module 2. Person detection is more reliable than the standard Outdoor 4, and the XR sensor pulls in noticeably more detail from 30+ feet away. It's the kit I most often recommend for new builds where the Nest doorbell handles the porch and the XRs handle the perimeter.
Check the Blink Outdoor 4 XR 4-Cam on Amazon
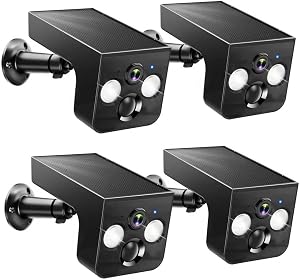
Best 2K upgrade: Blink Outdoor 2K+
The newer 2K+ trades some battery life for a sharper sensor, which matters if you want to read license plates from the driveway or recognize faces beyond the porch. It still mounts in minutes with the included bracket, and the upgraded chip processes motion zones faster than the Outdoor 4. A good choice if your Nest doorbell already gives you crisp 1600x1200 at the door and you want matching clarity elsewhere.
Check the Blink Outdoor 2K+ on Amazon
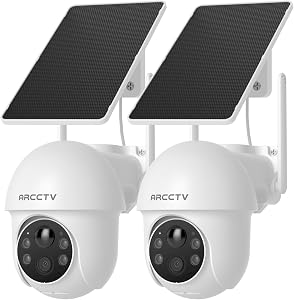
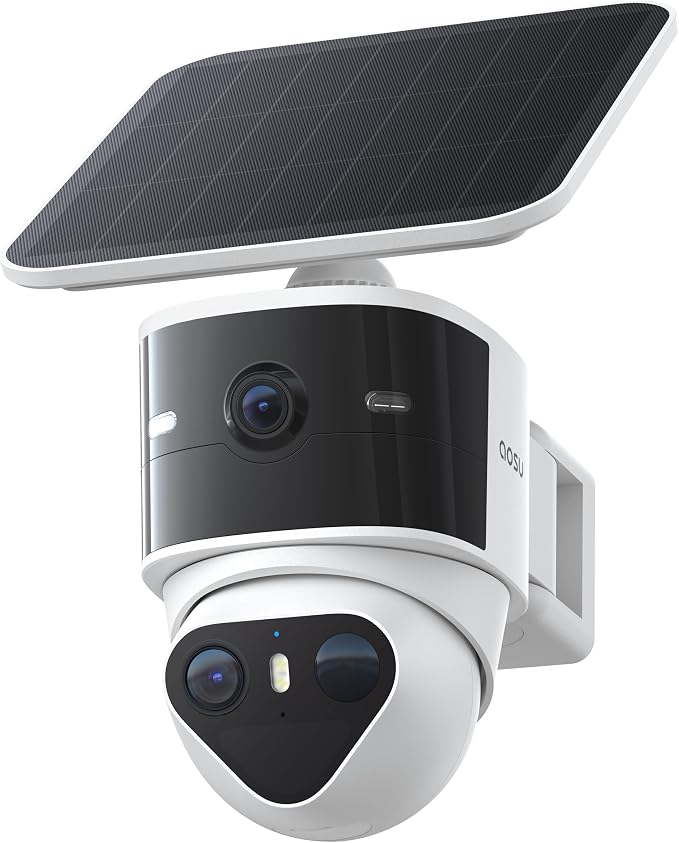
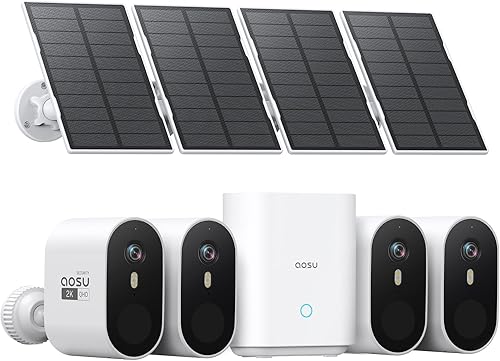
Best dual-lens alternative: aosu T2 Pro 3K Dual Cam
If you want one camera that does the work of two — a wide overview lens plus a telephoto for detail — the aosu T2 Pro is the standout in 2026. The 3K sensor is sharper than anything Blink ships, and the dual-cam design eliminates the classic "I can see the person but not the package" problem at the curb. It is more involved to mount than a Blink, but still requires zero drilling into a fiberglass door because it goes on the eave or siding.
Check the aosu T2 Pro Dual Cam on Amazon
Quick comparison: companion cameras for your Nest doorbell setup
| Camera | Resolution | Battery Life | Best For | Mount Difficulty |
|---|---|---|---|---|
| Blink Outdoor 4 | 1080p | ~2 years | Single side-yard add-on | Easy |
| Blink Outdoor 4 XR (4-pack) | 1080p HDR | ~2 years | Whole-home perimeter | Easy |
| Blink Outdoor 2K+ | 2K | ~18 months | License plates / detail | Easy |
| aosu T2 Pro | 3K dual | Wired or solar | Wide + telephoto coverage | Moderate |
Common fiberglass-door install mistakes to avoid
The five mistakes I see most often when homeowners install Nest Doorbell Wired 2nd Gen fiberglass door setups are: skipping the painter's tape (causes gel-coat chipping), using a wood bit instead of carbide (causes the bit to wander), over-tightening the mount screws (cracks the door skin), forgetting the in-chime power connector (causes constant buzzing), and drilling through the door slab instead of the frame (voids the door warranty).
Take it slow. The whole job is about an hour for a first-timer and 25 minutes for someone who has done it before. For more on smart-home wiring, see our smart doorbell transformer sizing guide and our Nest vs Ring on fiberglass doors comparison.
Will the Nest Doorbell Wired 2nd Gen damage my fiberglass door?
If you mount on the door jamb or frame (the recommended location) there is zero risk to the fiberglass slab itself. Most manufacturers — Therma-Tru, Pella, Masonite — explicitly allow drilling the wooden door frame for doorbells and peepholes. Drilling the slab is what voids warranties, and there is rarely a reason to do it because the jamb is right there.
Frequently Asked Questions
Can I install the Nest Doorbell Wired 2nd Gen without an existing chime?
Yes, but you still need a 16–24V AC transformer somewhere in the circuit. The included Nest power connector can wire directly to the transformer terminals if you have no chime at all. Without a transformer, you cannot run the Wired 2nd Gen — that is the Battery model's job.
What size drill bit should I use on a fiberglass front door?
Use a 5/32" carbide-tipped bit for the mounting holes. If you need a wire pass-through, step up to 1/4" carbide. Never use a wood spade bit or a hammer-drill setting on fiberglass — both will spiderweb the gel coat.
Do I need an angle wedge for a fiberglass door with sidelites?
Often, yes. If your fiberglass entry has decorative sidelites, the doorbell may end up facing the wall instead of the walkway. Google sells a 20-degree wedge accessory; many third-party 3D-printed wedges also fit. Mount the wedge first, then the doorbell plate on top.
Can I install the Nest Doorbell Wired 2nd Gen in cold weather?
The unit is rated to -4°F operating, but fiberglass doors become more brittle below 32°F and the gel coat chips more easily. If you can wait for a 50°F+ day, you'll get a cleaner install. If not, warm the mounting area with a hair dryer for 60 seconds before drilling.
How do I hide the wires on a fiberglass door install?
Run the wires through the existing doorbell knock-out in the frame, not across the door face. If you must surface-mount, use a paintable PVC wire channel that matches your trim color. Avoid stapling — staples crack fiberglass.
Will the doorbell ring my old mechanical chime?
Yes, but only if you install the included Nest in-chime power connector inside the chime housing. Without it, the chime will buzz constantly or not ring at all. Digital chimes need a different jumper — check the Nest installation app for your model.
Is the Nest Doorbell Wired 2nd Gen worth it in 2026 over the Battery model?
For fiberglass-door homes with existing doorbell wiring, the Wired 2nd Gen is the better buy — 24/7 recording with a Nest Aware subscription, no battery to recharge, and faster motion alerts. The Battery model only wins if you have no wiring or you rent and cannot drill. See our 2026 best video doorbells roundup for a head-to-head.
Key Takeaways
- Choosing the right install nest doorbell wired 2nd gen fiberglass door means matching capacity and output ports to your actual devices
- Always check actual watt-hours (Wh), not just watts — runtime depends on Wh, not peak output
- Also covers: nest doorbell fiberglass install
- Also covers: nest wired doorbell composite door
- Also covers: nest doorbell 2nd gen fiberglass mount
- Compare price-per-Wh across models to find the best value for your budget