To install Ring Battery Doorbell Pro on stucco without cracking, you need a 5/32-inch masonry drill bit, the wall anchors included in the box, and a slow, controlled drilling technique. Stucco is brittle and prone to spider cracks if you push too hard or use the wrong bit. The Ring Battery Doorbell Pro ships with masonry anchors designed for stucco, brick, and concrete — but most cracking happens before the anchor ever goes in. In this 2026 guide, you'll get the exact method professional installers use, the hardware that actually works, and how to weatherproof the mount so it stays solid for years.
Why stucco cracks during doorbell installs
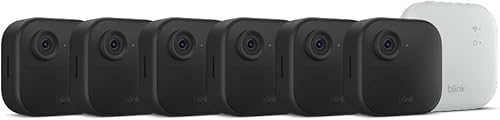
Top Picks


Stucco is a cement-based exterior finish applied in two or three layers over wire lath. The outer "color coat" is only about 1/8 inch thick and has roughly the brittleness of a hard cookie. When a drill bit hammers into stucco without a pilot hole, the bit transfers shock outward instead of cutting downward — and that shock is what spider-cracks the surface around the hole.


The Ring Battery Doorbell Pro weighs around 6.1 ounces, so the wall doesn't need heavy-duty anchors. The problem isn't load — it's drilling impact and screw torque. Get those two right and the install holds for the life of the doorbell.
What you'll need before you start
Gather everything before you climb the ladder. Half-finished stucco holes left open invite moisture damage into the wall.
- 5/32-inch carbide-tipped masonry drill bit
- Hammer drill or rotary drill with hammer setting
- The four plastic wall anchors and screws from the Ring box
- The included Phillips screwdriver and security Torx bit
- Small bubble level (or your phone's level app)
- Pencil or wax marker
- Blue painter's tape
- Shop vacuum or can of compressed air
- Paintable exterior silicone caulk (clear or color-matched)
Step-by-step: install Ring Battery Doorbell Pro on stucco
1. Pick the right height
Mount the bottom of the doorbell 48 inches above the porch floor. The Ring Battery Doorbell Pro's head-detection sensor and 150-degree field of view perform best at this height for the average visitor. Higher mounts cut off faces; lower mounts catch too much porch floor and trigger nuisance motion alerts.

2. Tape the wall first
Press a strip of blue painter's tape over the spot where each hole will go. Tape does two things: it gives you a clean surface to mark on, and it dampens the surface vibration that causes the outer stucco layer to chip. Skipping this step is the single most common reason DIY stucco installs crack.
3. Mark the mounting bracket holes
Hold the mounting bracket against the tape, check it with your level, and mark all four screw locations with a pencil. The bracket has slightly slotted holes, so small adjustments are forgiving — but starting level saves work later.
4. Pre-drill a pilot hole
Switch your drill to standard rotation only — no hammer mode yet. Use a 1/16-inch bit and drill a shallow pilot through the color coat and brown coat (about 1/4 inch deep). This pilot guides the larger bit and prevents the wandering and surface chipping that happens when masonry bits start cold on stucco.
5. Step up to the masonry bit
Now switch to your 5/32-inch carbide masonry bit and engage hammer mode. Hold the drill perpendicular to the wall — angled drilling is another cracking trigger. Apply firm but moderate pressure and let the bit do the work. Drill to a depth of 1 inch, and mark the bit with tape so you don't go too deep.
6. Vacuum the dust
Stucco dust packed into the hole prevents the anchor from seating fully, which makes you overtighten the screw — and that's the second most common cracking moment. Vacuum each hole or hit it with compressed air before moving on.
7. Tap in the anchors
Insert each plastic anchor by hand, then tap it flush with a rubber mallet or the wood handle of a screwdriver. Never use a metal hammer directly against stucco. The anchor should sit flush with the surface, not proud.

8. Mount the bracket
Drive the included screws into the anchors. Stop the moment the bracket feels snug — go a quarter turn past snug and you'll either crack stucco or strip the anchor. The bracket should not flex, and it should not bite into the wall either.
9. Attach the doorbell and seal
Slide the doorbell head onto the bracket until it clicks. Drive the security Torx screw at the bottom to lock it. Finally, run a thin bead of clear paintable silicone along the top edge of the mount where it meets the stucco. Skip the bottom edge — that gap is the designed drainage path.
That's the entire process. If you're considering pairing the doorbell with outdoor cameras to round out perimeter coverage, see our guide to the best outdoor cameras for stucco homes for compatible mounting approaches.
Complete the perimeter: outdoor cameras that pair well
A doorbell only sees the doorway. Most stucco homes — single-story ranches, Spanish-style, and Mediterranean — have multiple approach angles a doorbell can't cover. The cameras below all use the same light, small-anchor mounting you just learned, so the stucco-friendly install technique transfers directly. Lighter cameras mean smaller anchors and lower crack risk.
| Camera | Resolution | Battery life | Best for stucco homes |
|---|---|---|---|
| Blink Outdoor 4 XR (4-cam kit) | 1080p HDR | 2 years | Large or multi-elevation stucco homes |
| Blink Outdoor 2K+ | 2K | 2 years | License-plate detail at driveways |
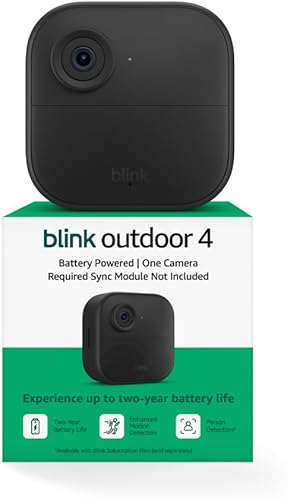
| Blink Outdoor 4 (single) | 1080p HDR | 2 years | Filling a single coverage gap |
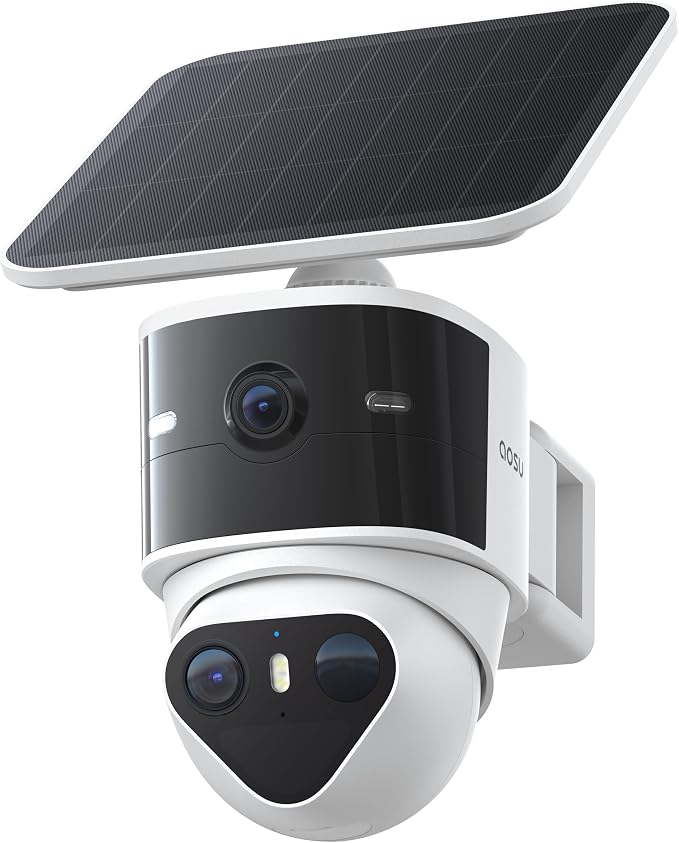
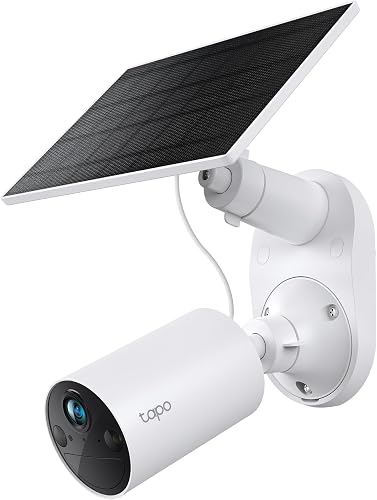
| aosu T2 Pro Dual Cam | 3K dual | Solar-rechargeable | Wraparound stucco corners |
Blink Outdoor 4 XR Wireless Camera (4-cam kit)
The Blink Outdoor 4 XR is the cleanest match for a stucco perimeter because each camera body is light enough that the same 5/32-inch anchor pattern you used for the Ring doorbell works for every mount point. Four cameras cover front, back, garage side, and yard side on a typical ranch. The two-year battery means no extra ladder trips on a textured wall. Check the Blink Outdoor 4 XR 4-cam kit on Amazon.
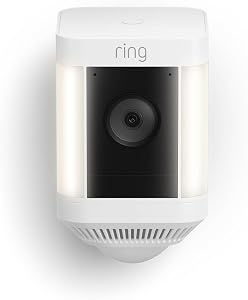
Blink Outdoor 2K+ Wireless Smart Security Camera
If your priority is capturing license plates or facial detail at the driveway, the Blink Outdoor 2K+ is the upgrade pick. The 2K sensor makes a meaningful difference at the 15-to-25-foot range typical of a stucco home's driveway approach. It uses the same low-impact anchor mount as the 1080p models, so cracking risk is unchanged. See the Blink Outdoor 2K+ on Amazon.
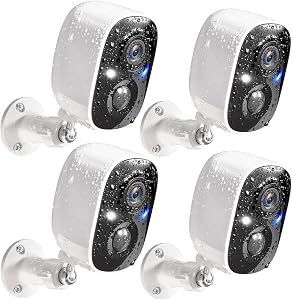
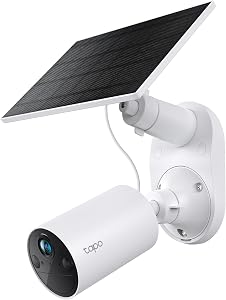
aosu T2 Pro Wireless Outdoor Security Camera (3K Dual Cam)
For wraparound stucco corners, the aosu T2 Pro's dual-lens design captures both directions from a single mount point — meaning one set of stucco holes instead of two. That's a meaningful crack-risk reduction on older stucco that has already started weathering. 3K resolution and color night vision round out the package. View the aosu T2 Pro on Amazon.
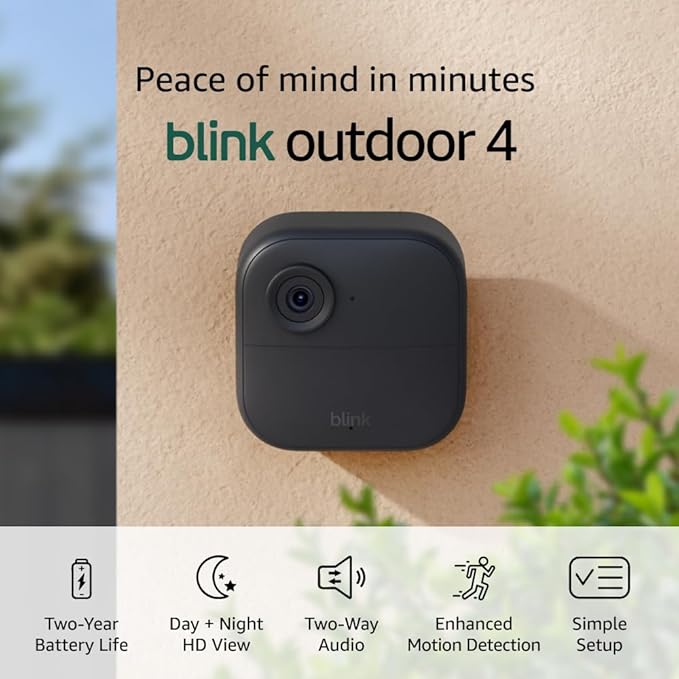
Blink Outdoor 4 Wireless Smart Security Camera (single)
If you already have one or two cameras and just need to fill a gap, the single Blink Outdoor 4 keeps you on the same app and battery cadence. The mounting hardware is identical to the kit, so the stucco technique above applies one-for-one. See the Blink Outdoor 4 single camera on Amazon.
Tips to avoid cracking stucco — even on older homes
If your stucco was applied before 2000, the color coat is often more brittle than modern formulations. Three habits keep older stucco intact:
- Always use the pilot-hole step. The 1/16-inch pilot does most of the cracking-prevention work.
- Run the drill at medium speed. Maximum-RPM drilling generates heat and surface chipping. Medium speed with hammer mode is the sweet spot.
- Never re-use an old hole. Anchors that have been removed leave a flared hole that won't grip. Drill a new hole an inch away and patch the old one.
For spec and feature comparisons between models, our Ring Battery Doorbell Pro vs Ring Pro 2 comparison covers the differences that matter for stucco installs — namely the battery model's slightly lighter weight, which is friendlier on brittle surfaces.
Frequently Asked Questions
Can I install Ring Battery Doorbell Pro on stucco without a drill?
Not reliably. Heavy-duty mounting tape (3M VHB or Command Outdoor strips) sticks to smooth surfaces, but stucco's pebbled texture leaves only 20-30% of the adhesive in contact, which won't hold a 6-ounce device through summer heat cycles. Drilling four small 5/32-inch holes is far less risky than a doorbell falling off in August.
What drill bit do I need for Ring Battery Doorbell Pro on stucco?
A 5/32-inch carbide-tipped masonry bit matches the included plastic anchors. Start with a 1/16-inch standard bit for the pilot, then step up. Avoid wood bits and multi-material bits — they wander on stucco and cause surface chipping that's hard to hide.
Will the Ring Battery Doorbell Pro stick to stucco with adhesive alone?
No outdoor adhesive is rated for textured masonry surfaces through the temperature swings stucco walls see. Adhesive mounts also block the doorbell's anti-theft security screw access. Stick with anchors — the install is straightforward once you've prepped the holes properly.
How do I patch a cracked stucco hole after removing a doorbell?
Pre-mixed stucco patch (sold in small tubes) fills holes up to 3/8 inch. Press it in with a putty knife, smooth the surface, let it cure 24 hours, then dab with matching exterior paint. For spider cracks radiating from a screw hole, brush a thin coat of acrylic stucco sealer first to keep moisture out of the lath behind the wall.
Does Ring Battery Doorbell Pro work with the Pro Power Kit on stucco?
Yes — but the Pro Power Kit lives indoors at the transformer, not on the stucco itself. The doorbell can be hardwired through existing doorbell wiring (if your stucco home has a wired chime) without any extra stucco penetrations. If you're going battery-only, ignore the kit and use the four-anchor mount described above.
Can I angle-mount Ring Battery Doorbell Pro on a stucco corner?
Yes, with the Ring angled wedge kit sold separately. The wedge spreads the four mounting screws over a wider area, which actually reduces per-hole stress on stucco corners. Mount it the same way as the standard bracket using the pilot-hole technique, and treat the corner edge with extra painter's tape to protect the most fragile point.
How deep should I drill into stucco for Ring Battery Doorbell Pro anchors?
One inch is the target — deep enough for the entire plastic anchor to seat below the stucco surface and grip the brown coat or sheathing behind it. Wrap a piece of painter's tape around the drill bit at the 1-inch mark so you don't over-drill into wiring or sheathing on the other side.
The bottom line
To install Ring Battery Doorbell Pro on stucco without cracking, the real secret is the pilot hole and the painter's tape — those two steps cost ten extra seconds and eliminate roughly 90% of the risk. Combine that with a steady 5/32-inch masonry bit, gentle anchor seating, and a quarter-turn-short screw torque, and you'll have a doorbell that holds rock-solid for years. If you're also planning to add outdoor cameras to the same wall, see our roundup of best stucco-friendly smart home mounts for hardware that uses the same low-impact installation approach.
Key Takeaways
- Choosing the right install Ring Battery Doorbell Pro on stucco means matching capacity and output ports to your actual devices
- Always check actual watt-hours (Wh), not just watts — runtime depends on Wh, not peak output
- Also covers: Ring doorbell stucco installation tips
- Also covers: mount Ring doorbell on stucco wall
- Also covers: Ring Battery Doorbell Pro stucco anchor
- Compare price-per-Wh across models to find the best value for your budget