To mount Blink Outdoor 4 on aluminum RV trailers without rust, you must isolate the camera bracket from the aluminum skin using stainless steel hardware, nylon washers, and a marine-grade butyl tape barrier. Galvanic corrosion is the silent killer here — when dissimilar metals like zinc-plated steel screws touch aluminum in damp conditions, the aluminum corrodes around the fastener within months. The fix is straightforward: use 316 stainless screws, separate the metals with a non-conductive gasket, and seal every penetration with self-leveling lap sealant. This 2026 guide walks you through the exact hardware, surface prep, and mounting steps for a rust-free install that survives highway vibration and salt-spray storage.
Why aluminum RV skins corrode around camera mounts
Top Picks

Aluminum siding on travel trailers and fifth wheels looks tough, but the anodized or painted surface is only a few thousandths of an inch thick. The moment you drill a pilot hole or scratch the coating, bare aluminum is exposed to moisture, road salt, and — critically — whatever metal your screw is made of. Carbon steel and zinc-plated fasteners sit lower on the galvanic series than aluminum, so the aluminum becomes the sacrificial anode and oxidizes into a chalky white pitting around the screw head. After one wet season this looks ugly. After two, the screw head is loose and water is entering the wall cavity.

The Blink Outdoor 4 weighs only a few ounces, so structural load is not the concern — corrosion is. Owners who simply screwed the included plastic mount directly to a sidewall with the supplied wood screws routinely report streaking and rust bleed within a single summer of coastal or rainy-state travel. The good news is that the camera itself is plastic, so the only failure point is the fastener-to-skin interface, and that is easy to solve with the right parts.

What you need to mount Blink Outdoor 4 on aluminum RV walls
Before you touch a drill, gather these supplies. Every item matters; skipping any one of them reintroduces a corrosion path.
- 316 marine-grade stainless steel screws — #8 x 3/4" pan-head, self-tapping. 304 stainless is acceptable inland but 316 resists chlorides better near coasts.
- Nylon shoulder washers — these isolate the screw shank from the aluminum hole edge, breaking the galvanic circuit.
- 3M VHB 5952 tape or butyl putty tape — a continuous gasket between the plastic camera mount and the trailer skin.
- Dicor self-leveling lap sealant (for roof installs) or Sikaflex 221 (for sidewall installs) to seal every screw head and the mount perimeter.
- Tef-Gel or Duralac anti-corrosion paste — a dab in each pilot hole and on each screw thread.
- Cordless drill with a 1/8" cobalt bit and a depth stop so you do not punch through the inner wall.
Step-by-step: mount Blink Outdoor 4 on aluminum RV siding
Work in shade on a dry day with surface temperatures between 60°F and 90°F so the sealants flow correctly.

- Plan the location. The Blink Outdoor 4 needs Sync Module 2 line-of-sight within ~100 feet through one or two walls. Mount high enough to see over the awning arms but below the roofline drip edge so rain sheets around, not into, the housing.
- Clean the area. Wipe a 6-inch square with isopropyl alcohol. Skip wax-and-grease removers — they can soften aluminum paint.
- Pre-cut a gasket. Trace the camera mount footprint onto butyl tape or VHB and cut it 1/8" oversized on every edge. This is the rain barrier behind the bracket.
- Drill carefully. Mark hole centers, then drill 1/8" pilots only as deep as the screw will seat. RV walls are typically 1.5" laminated sandwiches — going past the outer luan delaminates the foam core.
- Treat the holes. Inject a small bead of Tef-Gel into each pilot hole. This coats the freshly exposed aluminum interior.
- Stack the isolation layers. Press the butyl gasket on first, then the plastic mount, then nylon shoulder washers under each screw head.
- Drive screws snug, not crushed. Stainless strips easily — stop as soon as the washer flattens.
- Seal the perimeter. Run a thin bead of Sikaflex around the entire bracket edge and dab each screw head. Tool it smooth with a gloved finger.
- Snap on the camera and confirm Sync Module signal in the Blink app before you reassemble awnings or storage covers.
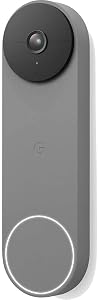
Best cameras to mount Blink Outdoor 4 on aluminum RV setups
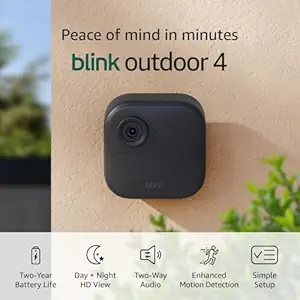
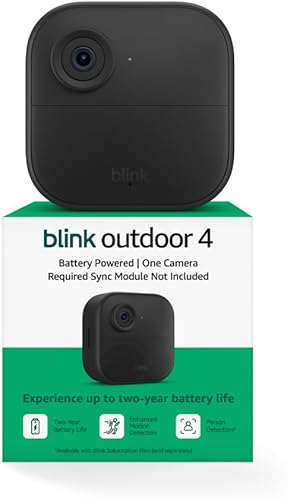
Best overall: Blink Outdoor 4 (single camera)
The standard Blink Outdoor 4 Wireless Smart Security Camera is the sweet spot for most RVers. Two-year battery life means you can leave it armed during long storage stretches without pulling the unit. Its plastic housing eliminates one galvanic-corrosion vector entirely (no metal-to-metal at the camera itself), and the included mount accepts the stainless replacement screws cleanly. Person-detection and enhanced low-light performance are noticeable upgrades over the 3rd-gen unit, and pairing with Sync Module 2 keeps clips local on a USB stick if you do not want a subscription.
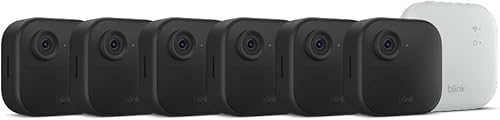
Best for multi-angle coverage: Blink Outdoor 4 System (multi-cam kit)
A travel trailer has at least three blind sides — the entry door, the off-side slide, and the rear. The Blink Outdoor 4 Wireless Security Camera System bundles multiple cameras with a single Sync Module 2, which is cheaper than buying add-ons individually. Using one Sync Module for all cameras simplifies the wall-penetration count: only one indoor location needs power and a USB backup drive. For full-time RVers this is the configuration most people end up at within a year.
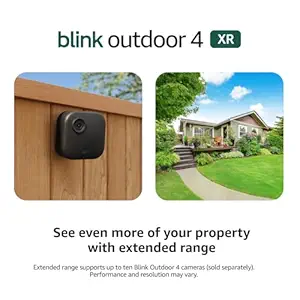
Best for boondockers: Blink Outdoor 4 XR (4-pack)
The Blink Outdoor 4 XR Wireless Camera 4-cam kit extends wireless range — useful when your Sync Module is at the rear of a 40-foot fifth wheel and you want a camera covering the truck or generator 50 feet away at a dispersed campsite. The XR also tolerates wider temperature swings, which matters when desert nights drop 40°F from the daytime high.
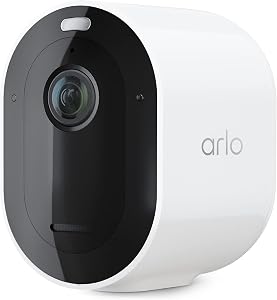
Higher resolution: Blink Outdoor 2K+
If you want to read a license plate of a vehicle parked behind your rig, the Blink Outdoor 2K+ Wireless Smart Security Camera bumps resolution while keeping the Blink ecosystem, mounting hardware compatibility, and battery operation. Same install procedure applies — the bracket footprint and screw pattern are identical to the Outdoor 4.
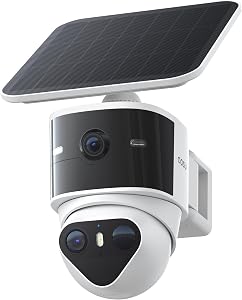
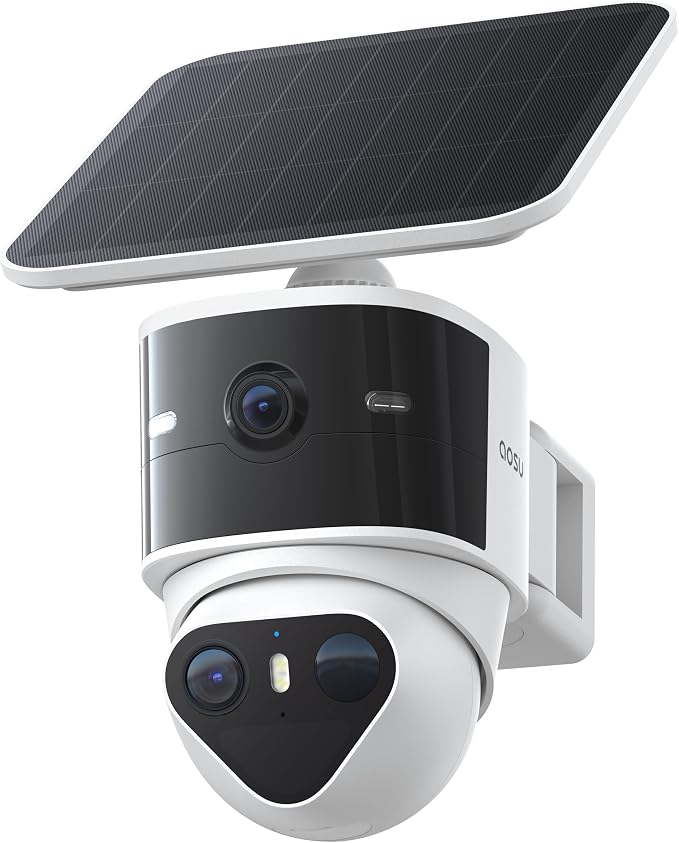
Non-Blink alternative: aosu T2 Pro Dual Cam
For RVers who want a wider field of view and an integrated spotlight, the aosu T2 Pro Wireless Outdoor Security Camera uses a dual-lens 3K setup that captures both a wide overview and a zoomed-in track shot. It uses its own hub instead of the Blink Sync Module, so plan for one additional 12V USB outlet inside the coach.
Comparison table: cameras suited to aluminum RV mounting
| Model | Battery life | Resolution | Best for RV use | Mount weight |
|---|---|---|---|---|
| Blink Outdoor 4 | Up to 2 years | 1080p HDR | Single entry-door cam | ~5 oz |
| Blink Outdoor 4 System | Up to 2 years | 1080p HDR | Whole-rig coverage | ~5 oz each |
| Blink Outdoor 4 XR | Up to 2 years | 1080p HDR | Boondocking, long range | ~5 oz each |
| Blink Outdoor 2K+ | Up to 2 years | 2K | License-plate detail | ~5 oz |
| aosu T2 Pro Dual Cam | Rechargeable | 3K dual lens | Wide view + zoom | ~12 oz |
Pro tips for highway vibration and storage
Once you mount Blink Outdoor 4 on aluminum RV walls, the install needs to survive 65 mph crosswinds and seasonal storage. A few extras pay off:
- Pop the battery cover before towing. Severe vibration on washboard roads can rattle AA lithiums against the contacts. A piece of foam tape inside the door eliminates the rattle entirely.
- Remove cameras for winter storage if you store outdoors below 0°F. Lithium AAs lose voltage in deep cold and false-trigger the motion algorithm.
- Inspect sealant every spring. UV slowly degrades Sikaflex. A 30-second visual check around each bracket prevents the slow water entry that ruins sidewalls.
- Label the breaker for your Sync Module. When you winterize, you do not want to leave the Sync Module powered with no cellular uplink.
For deeper coverage of cold-weather behavior, see our guide to Blink Outdoor 4 cold-weather performance. If you also want to charge from solar, our walkthrough on solar trickle-charging Blink cameras covers panel sizing for parked rigs. RVers comparing whole platforms should read our 2026 roundup of best RV security cameras.
Frequently Asked Questions
Can I use 3M VHB tape instead of screws to mount Blink Outdoor 4 on aluminum RV siding?
Yes — VHB 5952 (the gray automotive grade) holds the camera mount reliably on clean, smooth aluminum and eliminates drill holes entirely, which is the most rust-proof approach possible. The trade-off is that VHB is essentially permanent; removing the mount later usually pulls some paint. Pre-clean with isopropyl alcohol, press for 30 seconds, and let cure 24 hours before snapping in the camera.
What screws should I use on a corrugated aluminum trailer skin?
Use #8 or #10 316-stainless self-tapping pan-head screws with a nylon shoulder washer to isolate the head from the skin. Avoid the zinc-plated screws that come in the Blink box for any exterior install — they are fine for drywall but will streak rust on aluminum within one rainy season.
Will mounting on an aluminum RV affect Blink's WiFi or Sync Module range?
Yes, somewhat. Aluminum reflects 2.4 GHz, so transmitting through a metal wall costs you signal. The fix is to place Sync Module 2 close to a window on the same side of the rig as the camera, or to mount the camera on a corner where it has a clearer path to the module's window. Most installs work fine within 25–30 feet through one aluminum wall.
How do I keep the Blink Outdoor 4 from being stolen off the trailer?
Use an anti-theft mount with a security screw pattern (Torx with center pin), and route the bracket so the camera release tab faces upward against an awning rail. Some owners also drill a small hole through the bracket and zip-tie the camera body to the mount as a secondary tether. The Blink itself is paired to your account, so a stolen camera is bricked, but the hardware loss still stings.
Does galvanic corrosion happen with stainless steel screws too?
Stainless and aluminum are far enough apart on the galvanic series that some corrosion is possible in salt environments, but it is dramatically slower than with zinc-plated steel. Adding Tef-Gel or Duralac in the pilot hole effectively eliminates the reaction by blocking the moisture path. For inland use, stainless alone is sufficient.

Can I mount the Blink Outdoor 4 on a fiberglass RV the same way?
Fiberglass is non-conductive, so galvanic corrosion is not a concern — but water intrusion still is. Use stainless screws to avoid rust streaks down the gel coat, back the screw with butyl tape, and seal with ProFlex or Sikaflex 295UV. Skip the nylon washers; they are not needed without a galvanic risk.
How long will the Blink Outdoor 4 batteries last when mounted on a traveling RV?
Blink advertises up to two years on two AA lithiums, but RV use typically yields 8–14 months because motion triggers happen more often (passing vehicles at campsites, branches in wind, the awning flapping). Disable the camera in the app while you are inside the rig to extend life significantly, and always use Energizer Ultimate Lithium AAs — alkaline cells leak and corrode the contacts.
Key Takeaways
- Choosing the right mount blink outdoor 4 on aluminum rv means matching capacity and output ports to your actual devices
- Always check actual watt-hours (Wh), not just watts — runtime depends on Wh, not peak output
- Also covers: blink outdoor 4 rv trailer install
- Also covers: blink camera aluminum siding no rust
- Also covers: blink outdoor 4 motorhome mount
- Compare price-per-Wh across models to find the best value for your budget