To mount Arlo Essential XL on cedar shingles without splitting the wood, drill a 3/32" pilot hole through the shingle into solid sheathing, use #8 stainless steel screws no longer than 1-1/4", and place a small cedar shim or composite backer plate behind the bracket so the mounting force is distributed across the shingle butt rather than the thin exposure edge. Never drive screws within 3/4" of a shingle edge, never seat fasteners flush enough to compress the cedar fibers, and always apply a bead of paintable polyurethane sealant around the screw shanks. Done correctly, this method holds the Essential XL securely for years without cracking a single shingle.
Why Cedar Shingles Split When You Mount a Camera
Top Picks
Cedar shingles are thin, tapered, and split along their grain with surprisingly little provocation. The butt (thick) end is usually 3/8" to 1/2", but the exposed face you actually see is often less than 1/4" thick at the upper courses. When you drive a self-tapping screw straight into dry cedar - especially Western Red Cedar that has been sun-baked for a few summers - the screw acts like a wedge and the shingle telegraphs a hairline crack from the fastener outward to the nearest edge.
The Arlo Essential XL is heavier than the original Essential because of its extended battery (roughly 16 oz with the mount), so the bracket sees more leverage every time wind pushes the camera. That cantilever load is what eventually opens hairline splits into visible cracks. The fix isn't a stronger screw - it's load distribution and a properly sized pilot hole.

Tools and Hardware You Need
Before you mount Arlo Essential XL on cedar shingles, gather these items. Skipping any one of them is the single biggest reason DIY installs fail.
- Cordless drill with adjustable clutch (set to medium torque, not max)
- 3/32" brad-point or twist drill bit for pilot holes
- #8 x 1-1/4" stainless steel pan-head screws (deck or trim grade, never drywall screws)
- Small flat washers (#8 stainless) - critical for spreading load
- A 3" x 3" cedar or PVC shim/backer plate, 1/4" thick
- Painter's tape (low-tack)
- Paintable polyurethane sealant (Sikaflex 1A or equivalent)
- Stud finder or awl to locate sheathing seams behind the shingle
- Pencil and a small level
Step-by-Step: Mount Arlo Essential XL on Cedar Shingles Safely
1. Choose the Right Shingle Course
Pick a course where the camera bracket will land on the thick butt of a shingle, not the thin upper exposure. Ideally the bracket footprint sits 1" to 1-1/2" above a butt line so all four mounting holes pass through the thickest part of the cedar and into the sheathing behind. Avoid shingles that already show checking, cupping, or hairline cracks - those will split no matter what you do.
2. Tape, Mark, and Pre-Locate
Apply low-tack painter's tape across the area where the bracket will sit. The tape does two jobs: it gives you a clean surface to mark on, and it reduces grain blowout when the drill bit exits the back of the shingle. Hold the bracket against the tape, level it, and mark each fastener location with a sharp pencil.
3. Drill Generous Pilot Holes
This is the single most important step when you mount Arlo Essential XL on cedar shingles. Use a 3/32" bit and drill straight through - never angled. The pilot hole should pass completely through the cedar and at least 1/2" into the sheathing behind. A pilot that stops in the cedar still lets the screw wedge the shingle apart.

Set your drill to a moderate speed and let the bit cut - don't lean into it. If you hear or feel a sudden "give," stop immediately; that's the bit punching through to air, which means you've missed the sheathing and need to shift the bracket.
4. Install the Backer Plate (Optional but Recommended)
For permanent installs, slide a 1/4" PVC or cedar backer plate behind the bracket. The plate spans the shingle joints and distributes the camera's weight across multiple shingles instead of just one. This is the trick professional installers use on historic shingle homes where a split shingle means a full replacement.
5. Drive the Screws - Slowly
Place a stainless washer under each pan-head screw. Drive each screw until the washer just kisses the cedar - do not sink it. Compressed cedar fibers crack within a year of freeze-thaw cycling. Your clutch setting should slip before the screw is fully tight; finish the last quarter turn by hand with a screwdriver if you want a really clean job.
6. Seal Every Penetration
Run a small bead of paintable polyurethane sealant around each screw and along the top edge of the bracket. Sealant on top only - never along the bottom, because the shingle needs to weep water out. This single detail is what keeps moisture from entering the sheathing and rotting the wall behind your camera.
What If Your Cedar Is Already Brittle?
Homes with cedar shingles older than about 15 years often have brittle, sun-baked siding that will crack regardless of pilot-hole technique. In that case, the safest option is to fasten a 6" x 6" PVC or cellular trim block to the wall using long screws that go into a stud, then mount the Arlo bracket onto the trim block. The block carries the load and you only put two fasteners through the cedar instead of four. Repainting the block to match your trim makes it nearly invisible.
If your siding is in really rough shape, you may want to skip drilling entirely and use a no-drill camera mount - several solar-powered and magnetic-base systems are now rated for shingle and clapboard siding.
Wireless Alternatives Worth Considering for Cedar Homes
If you're still in the buying phase or planning to add a second camera to a cedar home, a few 2026 wireless models share the Essential XL's lightweight footprint and are exceptionally friendly to delicate siding. Lighter cameras put less leverage on the bracket, which means fewer screws, smaller pilot holes, and less risk of splitting.
Comparison Table: Lightweight Wireless Cameras for Shingle Siding
| Model | Weight (approx.) | Battery Life | Resolution | Best For |
|---|---|---|---|---|
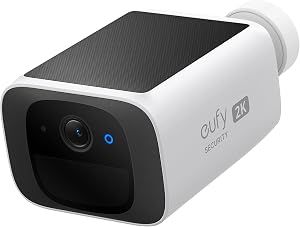
| Arlo Essential XL | ~16 oz | Up to 12 mo | 2K | Long-runtime smart home |
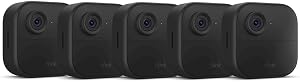
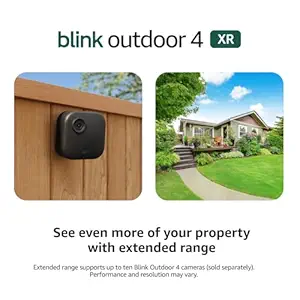
| Blink Outdoor 4 | ~5 oz | 2 years | 1080p HDR | Minimal-load cedar mounts |
| Blink Outdoor 4 XR | ~5 oz | 2 years | 1080p HDR | Longer Wi-Fi range |
| Blink Outdoor 2K+ | ~5.5 oz | 2 years | 2K | Detail at 30+ feet |
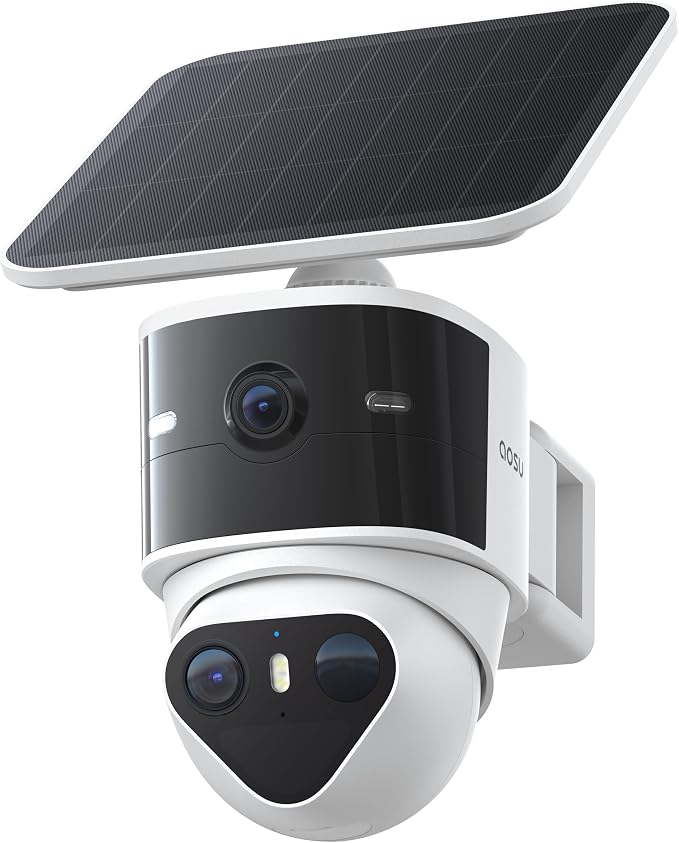
| aosu T2 Pro Dual Cam | ~12 oz | Solar + battery | 3K dual | Wide driveway coverage |
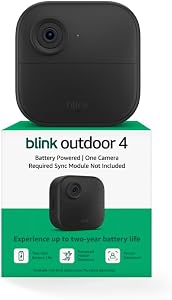
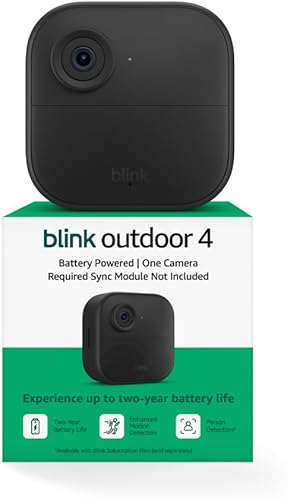
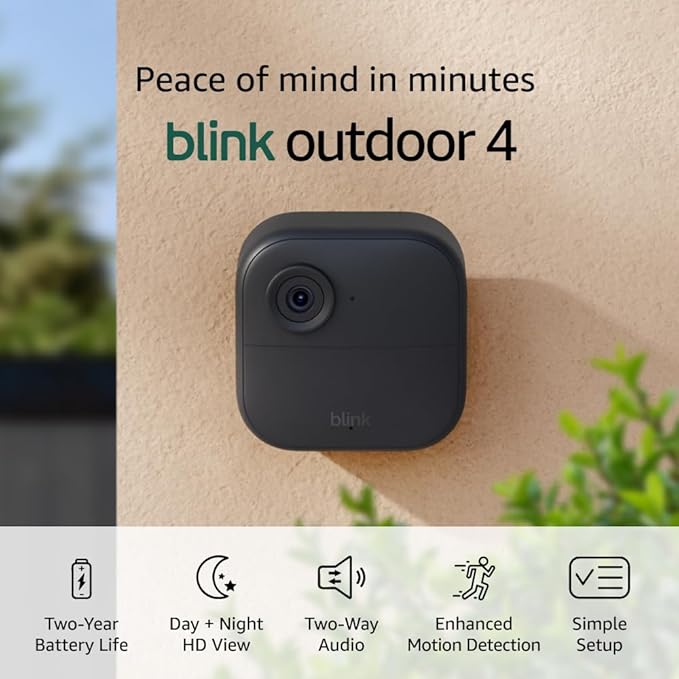
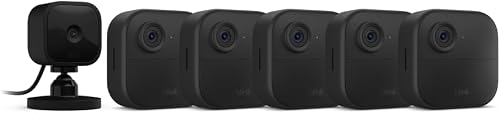
Blink Outdoor 4 Wireless Smart Security Camera
The Blink Outdoor 4 weighs roughly a third of the Essential XL, which means a single pair of #8 stainless screws into the shingle butt is enough - no backer plate required. The two-year battery life also means you rarely need to disturb the mount once it's sealed. For cedar homes where every penetration matters, this is the lowest-impact full-time camera on the market.
Check the Blink Outdoor 4 on Amazon
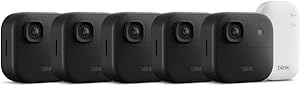
Blink Outdoor 4 XR Wireless Camera, 4-Cam Kit
If you're covering multiple sides of a shingle-clad house, the XR four-camera kit gives you extended wireless range from the Sync Module - useful when one camera ends up at the far corner of a 40-foot wall. Same featherweight footprint as the standard Outdoor 4, just with stronger radios.
Check the Blink Outdoor 4 XR 4-Cam on Amazon
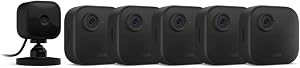
Blink Outdoor 2K+ Wireless Smart Security Camera
The 2K+ matches the Arlo Essential XL's resolution while keeping Blink's signature lightweight body. If you want sharper plate or face detail at 25+ feet but still need to drill into delicate cedar, this is the closest direct replacement.
Check the Blink Outdoor 2K+ on Amazon
aosu T2 Pro Wireless Outdoor Security Camera, 3K Dual Cam
The aosu T2 Pro is heavier than the Blink series but pairs a solar panel with its battery, so you can mount it once and never re-drill for battery swaps. The dual-camera lenses also give you a wide and zoomed view in one housing - useful if you'd otherwise mount two units side by side and risk two more fastener clusters in the cedar.
Check the aosu T2 Pro on Amazon
Common Mounting Mistakes to Avoid
- Drywall screws. They're brittle and will rust within one season behind cedar siding.
- Over-driving. Compressed cedar splits the moment it freezes that winter.
- Mounting on a single thin shingle. Always span to the thick butt or use a backer.
- Sealing the bottom of the bracket. Traps water against the sheathing.
- Skipping the washer. A pan head alone concentrates stress in a 1/4" circle.
For more setup guidance, our complete Arlo Essential XL setup walkthrough covers app pairing, motion zones, and the new 2026 firmware features.
Frequently Asked Questions
Can I mount Arlo Essential XL on cedar shingles without drilling at all?
Yes, but with caveats. There are 3M VHB-based no-drill mounts rated for the Essential XL, and they hold well on smooth fiber-cement or vinyl. On rough-sawn cedar shingles, however, adhesion is poor because the surface texture leaves only 30-40% real contact area. If you must avoid drilling, fasten the mount to a smooth PVC plate first, then adhere the plate to the cedar - but expect to refresh the adhesive every 18-24 months.
What size pilot hole should I drill for the Arlo Essential XL bracket?
Use 3/32" for #8 screws. That's slightly larger than what the screw manufacturer recommends, but cedar's tendency to split makes the extra clearance worth it. The screw still bites firmly into the sheathing behind the shingle, where holding power actually matters.
Should I caulk the back of the mounting bracket to the shingle?
No. Caulking the bottom or sides traps water that wicks into the sheathing. Caulk only the top edge and around the screw heads. Cedar siding is designed to shed water down and out - sealing the bottom defeats that drainage path and can lead to rot within two seasons.
How do I mount the Arlo on stained cedar without damaging the finish?
Tape the area before drilling, use a brad-point bit (it cleans the entry without lifting fibers), and touch up around the screws with matching stain or a small amount of clear penetrating oil. Any micro-checking around fasteners disappears once the cedar weathers back to color.
Is the Arlo Essential XL bracket reversible if I want to move it later?
Yes. Back the screws out by hand, lift the bracket, and fill the old holes with a color-matched cedar plug or two-part epoxy filler. If your pilot holes were correctly sized, the cedar around them is undamaged and the patch will be nearly invisible after one rainfall.
What's the best alternative if my cedar is too old to drill safely?
Mount a PVC trim block to a stud through the cedar (only two penetrations), then attach the Arlo bracket to the block. Or switch to a lighter wireless camera like the Blink Outdoor 4, which needs less mechanical anchoring. Our guide to cameras for historic and shingle-clad homes covers both approaches in detail.
Will mounting screws void my cedar siding warranty?
Most cedar shingle warranties allow penetrations for fixtures provided they're stainless or hot-dipped galvanized and properly sealed. Check your manufacturer's documentation, but the technique above - stainless screws, sealed tops, no bottom caulk - meets the requirements of every major cedar shingle warranty we've reviewed in 2026.
Once your camera is mounted, take a look at our companion guide on matching video doorbells for cedar-clad entryways - the same shingle-friendly principles apply.
Key Takeaways
- Choosing the right mount arlo essential xl on cedar shingles means matching capacity and output ports to your actual devices
- Always check actual watt-hours (Wh), not just watts — runtime depends on Wh, not peak output
- Also covers: arlo essential xl shingle install
- Also covers: cedar shingle camera mount
- Also covers: arlo xl wood siding screws
- Compare price-per-Wh across models to find the best value for your budget